

Knowing how to season a carbon steel pan is what stands between the silvery pan in the box and the black, slick skillet that restaurant cooks flip eggs in. The process is the same chemistry as cast iron: thin layers of fat heated past their smoke point polymerize into a hard, bonded coating. What's different is the surface, which is smooth rather than pebbled, and the starting point, because most carbon steel ships under a wax or protective coating that has to come off first. The other difference is expectation. A newly seasoned carbon steel pan looks blotchy, bronze, and uneven, and the first eggs will probably stick anyway, and neither of those means you did it wrong. Here's the stripping step, the two seasoning methods, the oil question, and the maintenance that does more than any initial seasoning ever will. If you're still deciding between metals, our carbon steel vs cast iron comparison is the place to start.
Step-by-step
Strip the factory coating first
Most European carbon steel, De Buyer and Matfer included, ships under a beeswax or clear protective film to stop rust in transit. That layer must come off or it burns into a sticky mess under your seasoning. Run the hottest tap water you have over the pan and scrub the inside and outside with dish soap and a stiff brush or the rough side of a sponge; the wax softens in hot water and lifts. Some makers suggest simmering water in the pan for a few minutes first, which works well for a thick coat. Dry it immediately and thoroughly on a burner over low heat, because bare carbon steel begins to flash-rust within minutes. A pan sold as pre-seasoned, like Lodge's, has an oil-based factory coat instead of wax and can skip this step entirely; wash, dry, and go straight to seasoning. If you're unsure which you have, the wax version feels faintly slick and slightly tacky to a fingertip, and hot water will bead on it.
Stovetop method: potato peels, salt, and oil
This is the classic method for the first seasoning on a new pan, and it works on gas or induction. Put the clean, dry pan over medium heat, add a thin layer of neutral oil, a handful of coarse salt, and the peels from one or two potatoes. Cook, stirring and pushing the peels up the sides, for 10 to 15 minutes. The starch in the peels and the salt scour off any remaining coating and residue while the oil begins to polymerize, and the pan will turn from silver to gold to bronze, unevenly, with a darker center. Discard everything, wipe the pan out with paper towels, and rub a thin coat of oil over the whole interior. Heat until it just starts to smoke, hold for a minute, and turn off the burner. Repeat that last oil-and-smoke cycle two or three times. The stovetop method seasons the base beautifully; the walls, which get less heat, catch up over the first few weeks of cooking.
Oven method: three thin coats at 450-500°F
The oven method gives more even coverage, including the walls and the outside, and it's the better choice if your burner is small relative to the pan. Rub a very thin film of oil over every surface, inside, outside, and handle if it's bare steel, then wipe it off as if you'd changed your mind. What's left is enough. Place the pan upside down on the middle rack with foil or a sheet pan below to catch drips, and bake at 450-500°F for an hour. Turn the oven off and let the pan cool inside. Repeat two or three times. Two things to check first: a pan with a wooden, plastic, or silicone-wrapped handle can't go in at that temperature, and a very long-handled pan may not fit; for those, use the stovetop method. The oven will smoke, so open a window and turn on the range hood. The finished pan should look dry and matte, not glossy; gloss means the coat was too thick.
The thin-coat rule is the whole game
Almost every seasoning failure is too much oil. A thick coat can't polymerize evenly; the surface hardens over a still-liquid layer underneath and the result is a gummy, streaky, brown film that flakes off in sheets and makes food stick worse than bare steel. The correct amount is what remains after you've wiped the pan as though it were a mistake, which looks like nothing at all. If the finished pan is tacky, sticky, or has drips and pooling in the bottom, that's excess oil; scrub the sticky patches back with hot water and a chainmail scrubber or coarse salt, dry it, and redo that coat properly. Better to build five whisper-thin coats over a week than to try for one perfect coat on day one. A seasoning wax makes this easier because a solid can't pool the way liquid oil does. Build seasoning by many thin layers, not one thick one, and accept that the first three coats give you a starting point rather than a finished pan.
Choosing an oil: grapeseed, canola, and the flaxseed caveat
The oil needs a high smoke point and a high proportion of unsaturated fat so it polymerizes readily. Grapeseed and canola are the practical picks: cheap, neutral, and they bond into a durable film. Vegetable shortening and refined avocado oil also work. Flaxseed oil polymerizes into the hardest, glossiest coating of any common oil, which made it the internet's darling for years, and it also has a well-documented tendency to flake off in sheets after a few months of use because the film is brittle. It looks spectacular and then it fails. Skip it. Also avoid olive oil and butter for initial seasoning; their smoke points are too low and they leave a soft, smelly layer. Whatever you choose, use it thin, and don't overthink the brand; the technique matters far more than the oil. A pan seasoned with plain canola and cooked in every day will outperform a flaxseed showpiece within a month.
Understand what it should look like and why the first eggs stick
A freshly seasoned carbon steel pan is not uniformly black. Expect a bronze-brown center fading to blue, gold, or bare-looking steel toward the rim, with tide marks, dark rings, and blotches. The blue tint is heat-tempered steel, not damage; the bronze is thin seasoning; the streaks are where the oil was thicker. All of this is normal, and it will even out into a dark, matte, uniform surface over the first few dozen cooks. That's also why your first eggs will stick. New seasoning is thin and porous; nonstick performance comes from thickness built by cooking. The first week, cook things that build seasoning rather than test it: bacon, sausage, sear steaks and chops, fry potatoes in plenty of fat, shallow-fry anything. Save the fried egg for week three. If you're still fighting sticking after a month, the culprit is usually heat that's too low or a pan that's been over-oiled.
Maintain after every cook, fix rust, and avoid the three killers
The initial seasoning is maybe ten percent of a great pan; the maintenance is the rest. After each cook, while the pan is warm, scrape out food, rinse with hot water, scrub stuck bits with a chainmail scrubber or brush, and use a drop of soap if you like; modern detergent won't hurt polymerized seasoning. Dry completely on a burner, then wipe on a whisper of oil or seasoning wax and wipe it back off. Store it dry and uncovered. If rust appears, scrub it off with steel wool or coarse salt, wash, dry, and re-season that area with a stovetop oil-and-smoke cycle or two; carbon steel is always recoverable. Three things will undo your work: acidic foods like tomato sauce, wine reductions, and citrus, which dissolve young seasoning (wait a couple of months, then keep them brief); soaking in the sink, which rusts the pan overnight; and the dishwasher, which strips it completely. The same rules apply to a carbon steel wok, where the higher heat builds seasoning faster.
Recommended Gear
The gear we'd reach for. Prices shown on Amazon at click-through.
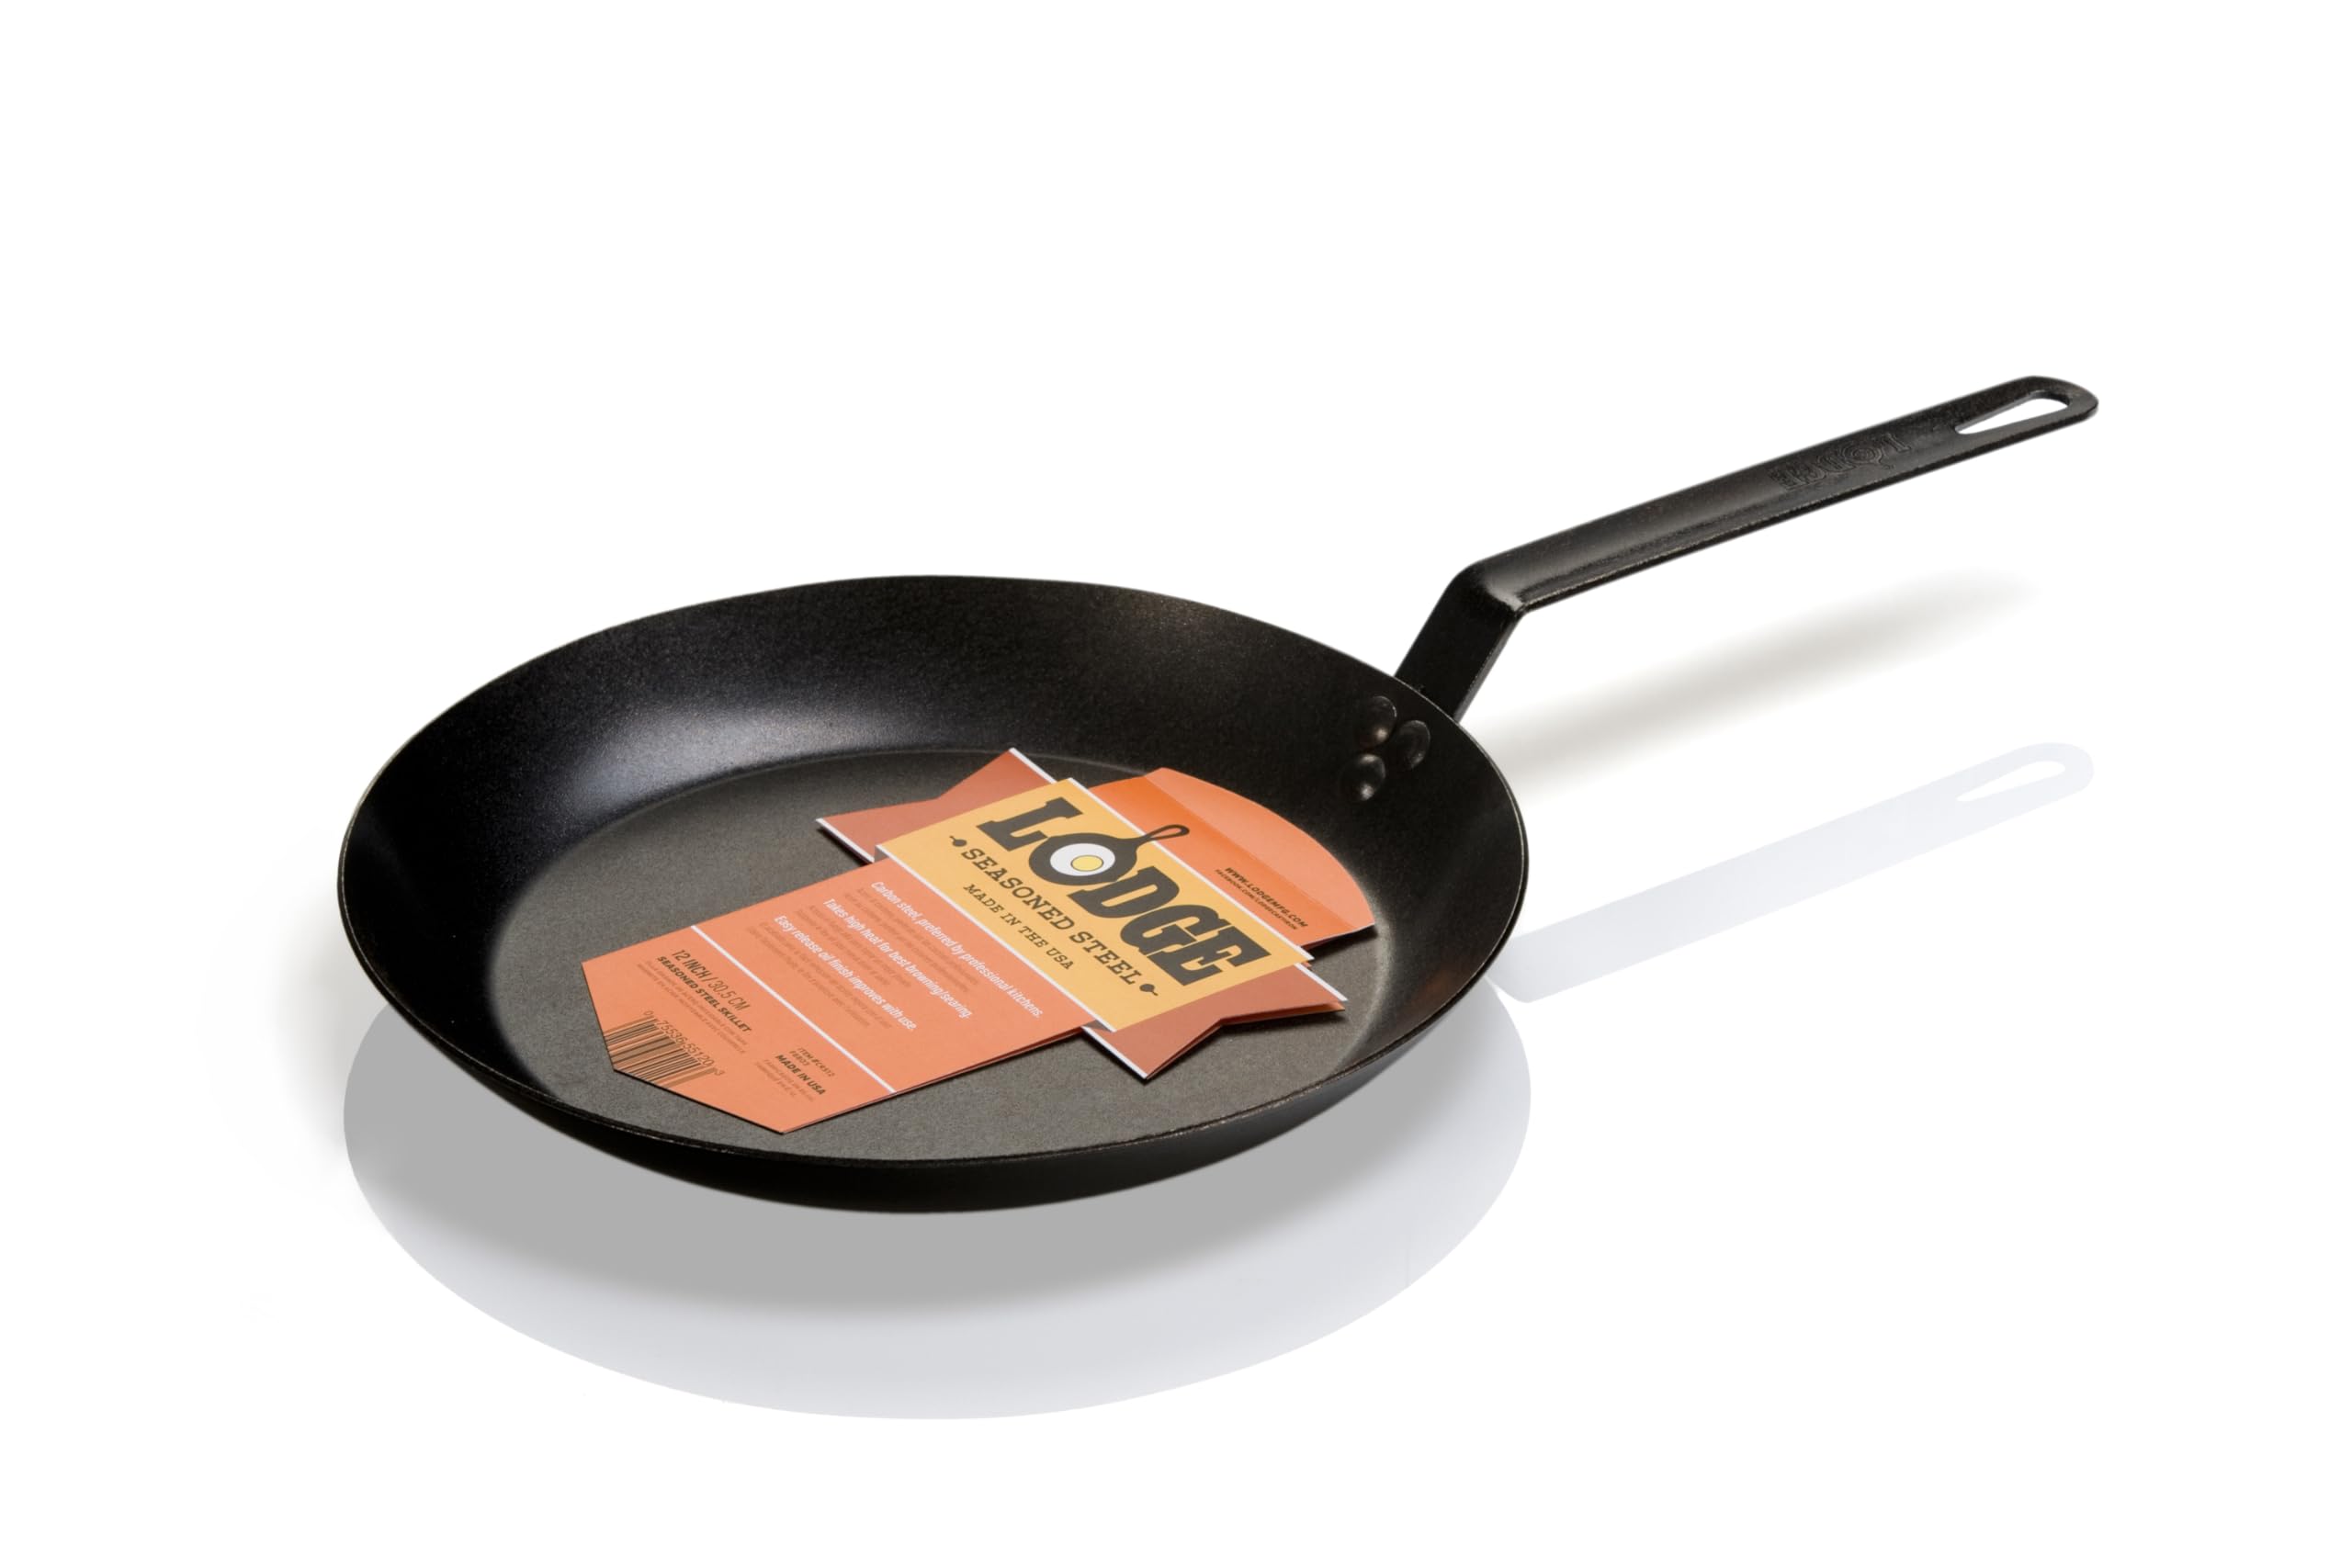
Lodge Pre-Seasoned Carbon Steel Skillet, 12 Inch
budget-friendly
If you're learning to season carbon steel, start on a pan that forgives mistakes. Lodge's 12-inch comes with a factory seasoning coat instead of a wax layer, so there's nothing to strip, and the heavy-gauge steel takes stovetop and oven seasoning equally well. It's the pan to practice on before you spend more.
Check Price on Amazon →
Made In Carbon Steel Seasoning Wax, 6 oz
mid-range
The most common seasoning failure is too much oil, and a solid wax makes that mistake hard to commit. Rub it on the warm pan, wipe nearly all of it off, and you get the ultra-thin film that polymerizes hard instead of gummy. One tin covers dozens of maintenance coats.
Check Price on Amazon →
TOPULORS Cast Iron Chainmail Scrubber, 316L Stainless, 8x6 in
budget-friendly
Carbon steel seasoning is thinner than cast iron's, so the wrong scrubber undoes weeks of work. Chainmail rings knock off stuck food and carbon flakes without gouging the polymer layer, and the 8x6 sheet is big enough to grip properly. 316L stainless means it never rusts in the sink.
Check Price on Amazon →Frequently Asked Questions
What is the best oil to season a carbon steel pan?
Grapeseed or canola oil: high smoke point, mostly unsaturated fat, cheap, and they polymerize into a durable film. A carbon steel seasoning wax works well too and makes it hard to over-apply. Flaxseed oil produces the hardest, shiniest coat and then flakes off in sheets after a few months, so it's not worth the reputation. Avoid olive oil and butter for the initial seasoning; their smoke points are too low and they leave a soft, smelly film.
Why is my carbon steel pan blotchy after seasoning?
Because that's what new carbon steel seasoning looks like. Expect a bronze-brown center, blue and gold rings toward the rim, streaks and tide marks. The blue is heat-tempered steel and the bronze is thin seasoning; neither is damage. The color evens out to a dark matte black over a few dozen cooks. Only sticky, gummy, or flaking patches indicate a problem, and that almost always means the oil went on too thick. Scrub the bad patch back and redo that coat thinner.
Why do eggs stick to my newly seasoned carbon steel pan?
New seasoning is thin and porous, and nonstick performance comes from thickness built by cooking, not from the first three coats. For the first couple of weeks cook fatty things: bacon, sausage, seared meat, fried potatoes. Then try eggs with the pan properly preheated, a generous amount of fat, and medium heat. If they still stick after a month, the pan is usually being run too cool or was over-oiled during seasoning.
Do you have to strip the coating off a new carbon steel pan?
If it shipped with a beeswax or protective film, which De Buyer, Matfer, and most European makers use, yes: scrub it off under very hot water with soap and a stiff brush, or simmer water in the pan first, then dry immediately on a burner. If you skip this, the wax burns into a sticky layer under your seasoning. A pre-seasoned pan like Lodge's has an oil coat instead and needs only a wash and dry.
Can you use soap on carbon steel?
Yes. Modern dish soap doesn't contain the lye that once stripped seasoning, and a drop of it on a warm pan removes grease without touching polymerized coating. What actually damages carbon steel is soaking in water, the dishwasher, steel wool on a seasoned surface, and simmering acidic foods in a young pan. Wash, dry on a burner, and wipe on a thin film of oil, and the pan gets better with every use.
How many times should you season a new carbon steel pan?
Three thin coats, by either method, gives a workable base; more than that on day one has diminishing returns because the real seasoning comes from cooking. What matters far more is that each coat is wiped down to almost nothing before heating. After the initial three, cook fatty foods for a couple of weeks and do a stovetop oil-and-smoke cycle whenever the pan looks dull or dry. Expect the surface to look properly black and slick after a month or two of regular use.
Is carbon steel seasoning different from cast iron seasoning?
The chemistry is identical: fat polymerized by heat into a bonded coating. The differences are practical. Carbon steel is smooth, so the seasoning is thinner and takes more cooks to build, and it's more easily undone by acid or soaking early on. It also heats faster and responds to a burner more quickly, which is why stovetop seasoning works so well on it. The same after-cook routine as our cast iron seasoning guide applies.
Want to dig deeper? See our guides to Best Carbon Steel Pan (2026), Carbon Steel vs Cast Iron: Which Pan Should You Buy?, How to Season a Cast Iron Skillet, and Best Carbon Steel Wok (2026).